We’ve all heard about the magical fifth taste, umami, a savory depth of flavor that transforms a simple dish into a mouthwatering experience. What if we told you there’s a way to sprinkle this culinary magic right onto your meals? That’s where our umami salt recipe comes into play. It’s a simple blend that packs a punch, elevating everything from roasted vegetables to your morning eggs.
Crafting this umami salt couldn’t be easier, and it involves ingredients you likely already have in your pantry. It’s our little secret weapon in the kitchen, and we’re thrilled to share it with you. Imagine the rich, savory essence of umami, ready at your fingertips to enhance any dish with just a pinch. Let’s dive into how you can create this flavor booster that’s sure to become a staple in your culinary arsenal.
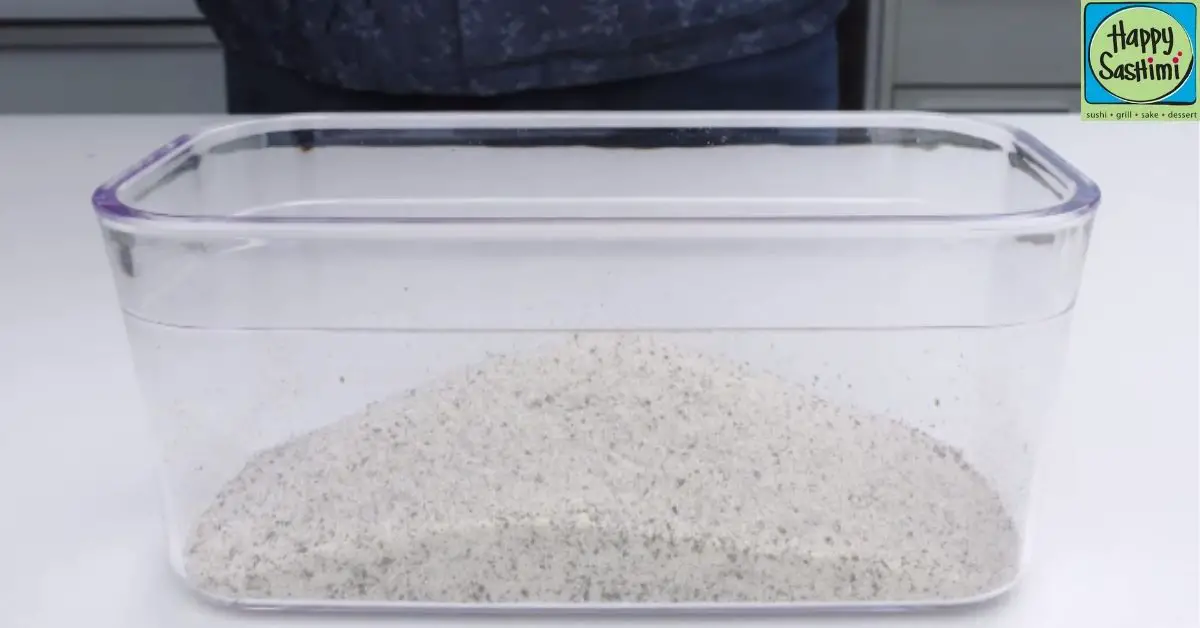
Ingredients
Following the introduction to the wonders of umami and its potential to transform simple meals into gourmet experiences, let’s delve into the specifics. Here’s what you’ll need to create your own umami salt at home. Remember, precise measurements ensure the perfect balance of flavors.
For the Umami Salt Blend
- 1/4 cup sea salt, finely ground
- 1 tablespoon dried porcini mushrooms, finely ground
- 1 tablespoon nutritional yeast flakes
- 1 teaspoon garlic powder
- 1 teaspoon onion powder
Mixing these ingredients will yield a umami-packed salt that’s versatile and ready to use. It’s crucial that the mushrooms are ground to a powder to seamlessly blend with the sea salt and other ingredients, ensuring every pinch carries the full spectrum of flavors.
Optional Add-Ins
To tailor the umami salt to your taste or specific dishes, consider adding one or more of the following:
- 1/2 teaspoon smoked paprika for a hint of smokiness
- 1/4 teaspoon dried thyme for an aromatic twist
- A pinch of red pepper flakes for a spicy kick
These optional add-ins allow you to customize your umami salt, making it a truly personal kitchen staple. Whether you’re aiming for a bit more heat, smoke, or herbaceousness, these additions can be adjusted to suit your palette and elevate your cooking.
Equipment Needed
Before diving into the magic of crafting your umami salt, let’s ensure you have all the necessary equipment on hand. We keep the process simple, so you won’t need any specialized kitchen gadgets. Here’s what we’ll be using:
- Measuring Spoons and Cups: Precision is key when blending our umami flavors, so having a set of measuring spoons and cups will ensure you get the ratios just right.
- Coffee Grinder or Spice Grinder: The dried porcini mushrooms need to be ground into a fine powder, and a grinder will do the job perfectly. If you don’t have one, a small food processor or a blender can work as a substitute, though you might not get as fine a powder.
- Mixing Bowl: We’ll need a bowl to combine our ground porcini mushrooms with the rest of our ingredients. A medium-sized bowl should suffice.
- Spatula or Spoon: For mixing all the ingredients thoroughly, a spatula or a spoon will be your best friend here. You want to ensure that every granule of salt is coated with our umami-packed powders.
- Airtight Container: After creating your umami salt, storing it properly is crucial to maintain its freshness and potency. Any airtight container or even a zip-top bag will do the trick.
Gathering these tools is the first step in bringing our umami salt to life. With everything in place, we’re ready to create a blend that will transform your dishes with a simple sprinkle. Let’s move on to preparing our umami-packed ingredient blend.
Step-by-Step Instructions
Now that we’ve gathered our ingredients and equipment, let’s dive into the magical process of making umami salt. This simple yet transformative seasoning will soon become a staple in your kitchen.
Preparing Your Ingredients
First, ensure all your ingredients are measured accurately. You’ll need:
- 1/4 cup of sea salt
- 1 tablespoon of dried mushrooms, ground finely
- 1 teaspoon of nutritional yeast
- Optional: 1/2 teaspoon of smoked paprika or red pepper flakes for a spicy kick
Begin by grinding the dried mushrooms into a fine powder using a coffee grinder. If you’re including smoked paprika or red pepper flakes, add them to the grinder with the mushrooms to blend everything evenly.
Mixing the Umami Salt
Transfer the ground mushroom mixture into a medium-sized mixing bowl. Add the sea salt and nutritional yeast, then use a spatula or spoon to mix thoroughly. Ensure the ingredients are well combined, creating a uniform color and consistency throughout the mixture. The goal here is to achieve a fine, powdery texture that will easily sprinkle over dishes, infusing them with that umami flavor.
Testing for Flavor Balance
It’s important to taste your umami salt after mixing to ensure the flavors are balanced. Take a small pinch and let it dissolve on your tongue. If you find the umami flavor too subtle, consider adding a bit more ground mushrooms or nutritional yeast, mixing well after each addition. Remember, the aim is to amplify the savory taste without overpowering the inherent flavors of the dishes you’ll be adding it to.
Adjusting the seasoning now ensures that every sprinkle of umami salt from your kitchen enhances meals with that sought-after depth of flavor. Once satisfied with the flavor balance, transfer your umami salt to an airtight container for storage. This blend will keep its potency and freshness, ready to elevate your dishes whenever you need that extra touch of umami.
Usage Ideas
After crafting your batch of umami salt, the culinary possibilities become endless. Let’s explore how to sprinkle a bit of savory magic into your dishes.
Enhancing Meat Dishes
Using our homemade umami salt to season meat before cooking infuses an unrivaled depth of flavor. Whether you’re grilling steaks, roasting chicken, or pan-searing pork chops, a liberal sprinkle of umami salt enhances the natural flavors of the meat while adding that mouth-watering savory note. For best results, season the meat a couple of hours in advance. This not only allows the salt to penetrate and tenderize the meat but also ensures the umami essence is thoroughly absorbed.
Boosting Vegetable Flavors
Vegetables are transformed with a dash of umami salt, turning the ordinary into extraordinary. Sprinkle it over roasted vegetables like Brussels sprouts, cauliflower, or broccoli to elevate their natural tastes, or mix it into mashed potatoes for a savory twist that’s simply irresistible. For a fresh approach, try adding a pinch to your favorite salad dressings. The umami salt works wonders in accentuating the flavors without overpowering the dish, ensuring every bite is packed with a punch of savory goodness.
Creative Uses in Desserts
Incorporating umami salt into desserts may seem unconventional, but it’s a culinary trend that’s gaining momentum. The contrast between sweet and savory can heighten the overall taste experience. Try sprinkling a little umami salt over dark chocolate dishes, caramel-based desserts, or even your homemade cookies and see how it subtly enhances the flavors. The key is to use it sparingly – a light dusting is all you need to add an intriguing depth to sweets, making them even more decadent.
Storing Your Umami Salt
After crafting your own umami salt, ensuring it maintains its peak flavor is crucial. Let’s dive into the best ways to store this savory seasoning for both short-term and long-term usage.
Short-Term Storage
For those who plan to use their umami salt within a few weeks, short-term storage is remarkably simple. Place the umami salt in a small, airtight container or a glass jar with a tight-fitting lid. This method prevents moisture from clumping the salt crystals and keeps out unwanted odors. Store it in a cool, dry place, such as a pantry or a kitchen cupboard, away from direct sunlight or heat sources. This will help preserve the vibrant flavors and the fine texture of your homemade umami salt, making it readily available to enhance your dishes on the fly.
Long-Term Storage Tips
If you’ve made a larger batch or intend to keep your umami salt for extended periods, a few extra steps can ensure its longevity. Firstly, consider dividing your umami salt into smaller portions. This minimizes exposure to air each time you use it, keeping the rest fresher for longer. Vacuum sealing these portions can further extend their shelf life, protecting the salt from moisture and air oxidation. For the optimal preservation of flavor and texture, place your sealed umami salt in the refrigerator or freezer. When stored in the freezer, the umami salt won’t freeze solid due to the salt content, making it easy to use straight from the freezer without the need for thawing. Remember to label your containers with the date, so you know how long they’ve been stored. Following these tips, your umami salt can maintain its delightful savory essence for several months, ready to elevate your culinary creations whenever inspiration strikes.
Conclusion
We’ve shared our secrets to making and storing umami salt, a game-changer in the kitchen. With this flavorful blend at your fingertips, you’re now equipped to elevate your cooking to new heights. Remember, the magic of umami salt lies not just in its creation but in its application—transforming the ordinary into the extraordinary. So go ahead, sprinkle a little umami magic on your next dish and watch the flavors come alive. Happy cooking!
Related Posts:
- Ultimate Dashi Chazuke Recipe: Flavorful & Easy Japanese Comfort Food
- Easy Katsuo Dashi Recipe: Ultimate Umami Broth Guide
- Easy Nori Tsukudani Recipe: Enhance Your Dishes with Umami
- Ultimate Umami Salt Recipe: Enhance Your Dishes with Savory Flavors
- Mastering the Umami Tsunami Roll: Ingredients, Sauce & Serving Tips