We’ve all had those days when we crave something hearty yet healthy, something that satisfies the soul without the guilt. That’s where our hot honey chickpea bowl comes in. It’s a dish that packs a punch with its bold flavors and nourishing ingredients, making it a perfect choice for any meal of the day.
This delightful bowl is inspired by the sweet and spicy profiles of hot honey, a condiment that’s been gaining popularity for its versatile use in both savory and sweet dishes. We’ve paired it with chickpeas, a powerhouse of nutrition, to create a meal that’s not only delicious but also loaded with benefits. From the first bite, you’ll experience a symphony of flavors that’ll make you wonder why you hadn’t tried this combination before.
So, let’s dive into this culinary adventure together and discover how simple ingredients can transform into a dish that’ll leave you craving for more.
Ingredients
Gather your ingredients to embark on this culinary adventure. We’ve divided them into categories for ease of preparation.
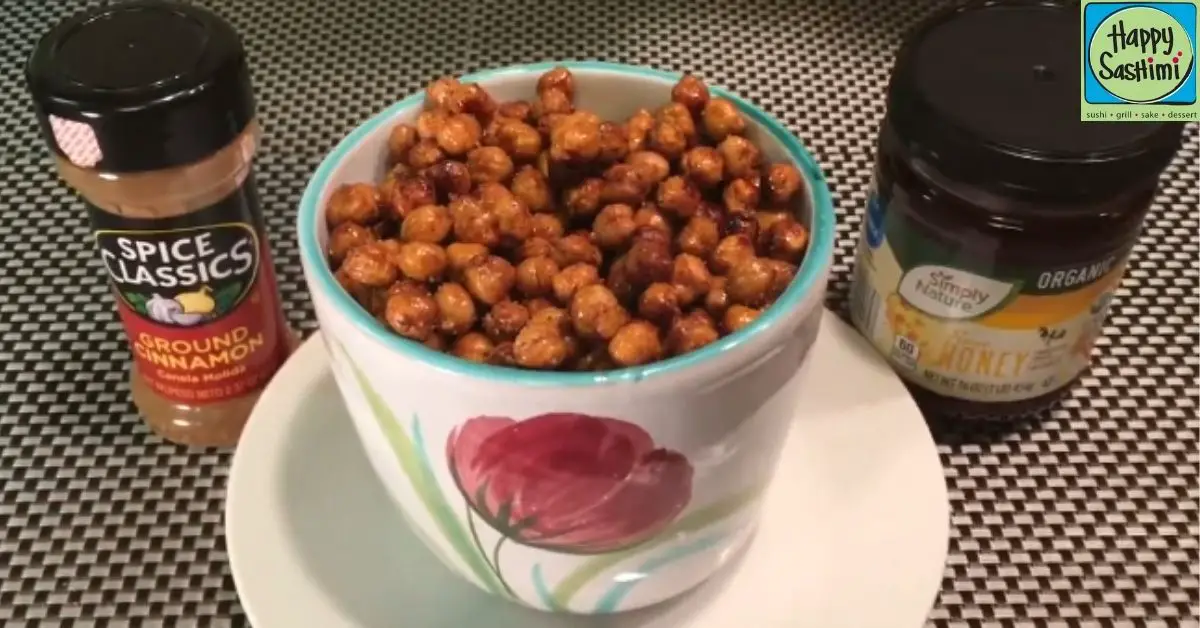
For the Hot Honey Chickpeas
- 1 can (15 oz) chickpeas, drained and rinsed
- 2 tablespoons olive oil
- 1/4 cup honey
- 1-2 tablespoons hot sauce, adjust based on spice preference
- 1 teaspoon smoked paprika
- 1/2 teaspoon garlic powder
- Salt to taste
For the Bowl
- 2 cups cooked quinoa or rice, for serving
- 1 large avocado, sliced
- 1 cup cherry tomatoes, halved
- 1 cup cucumber, sliced
- 1/2 red onion, thinly sliced
- 2 cups spinach or mixed greens
- Fresh cilantro or parsley, chopped
- Roasted sunflower seeds or pumpkin seeds
- Sliced jalapeños, for extra heat
- A squeeze of lime, for added zest
- A dollop of Greek yogurt or sour cream, for creaminess
Now that our ingredients are ready, let’s move on to creating our exciting hot honey chickpea bowl step-by-step.
Required Tools and Equipment
Before we dive into the fun part of creating our hot honey chickpea bowl, let’s make sure we have all the right tools and equipment on hand. This will help ensure our cooking process is as smooth and enjoyable as possible. Here’s what we’ll need:
- Large Baking Sheet: To roast the chickpeas, a large baking sheet is essential. It provides ample space for the chickpeas to spread out, ensuring they’re evenly roasted and crisped to perfection.
- Parchment Paper or a Silicone Baking Mat: Lining your baking sheet with parchment paper or a silicone baking mat makes cleanup a breeze and prevents the chickpeas from sticking to the pan.
- Mixing Bowls: A couple of mixing bowls are needed for tossing the chickpeas with spices and olive oil and for mixing the hot honey sauce.
- Measuring Cups and Spoons: For accurate measurements of ingredients like olive oil, honey, hot sauce, and spices, having a set of measuring cups and spoons is crucial.
- Whisk or Fork: A small whisk or a fork is handy for thoroughly mixing the hot honey sauce, ensuring a consistent flavor throughout.
- Large Skillet: If you’re planning to warm the chickpeas with the hot honey sauce before serving, a large skillet will come in handy.
- Spatula: A spatula is perfect for stirring the chickpeas while roasting or sautéing, ensuring they cook evenly.
- Chef’s Knife and Cutting Board: For prepping the toppings like avocado, cherry tomatoes, cucumber, and red onion, a sharp chef’s knife and a sturdy cutting board are necessary.
- Serving Bowls: Finally, you’ll need serving bowls to assemble and present your delicious hot honey chickpea bowls.
Make-Ahead Instructions
Preparing a hot honey chickpea bowl doesn’t always have to mean last-minute hustle. We’ve got some great make-ahead instructions that can help streamline the process on busy days, making your meal prep both efficient and effortless.
First and foremost, the chickpeas and quinoa can be prepared in advance. Cook the chickpeas as per the main instructions, let them cool, then store them in an airtight container in the refrigerator for up to 4 days. The quinoa can also be cooked ahead of time; once cooled, it can be stored in a similar manner to the chickpeas.
For the hot honey sauce, you can whisk together the honey, hot sauce, smoked paprika, and garlic powder in a small bowl or jar. This sauce can be refrigerated for up to a week. When you’re ready to use it, simply give it a quick stir or shake to ensure it’s well combined.
The vegetables, such as cherry tomatoes, cucumber, and red onion, can be chopped and stored in separate containers in the fridge. However, we recommend waiting to cut the avocado until you’re ready to serve to prevent it from browning.
As for the toppings like sunflower seeds, jalapeños, lime wedges, and Greek yogurt, these can simply be set aside until you’re ready to assemble the bowls. If you’re using fresh cilantro, rinse and chop it the day of serving for the best flavor and freshness.
When it comes time to assemble the hot honey chickpea bowls, all you have to do is reheat the chickpeas and quinoa. This can easily be done in a microwave or on the stovetop with a splash of water to prevent sticking. Arrange the heated ingredients in your serving bowls, add the fresh and refrigerated components, drizzle with the hot honey sauce, and enjoy your effortlessly assembled, nutritious meal.
Following these make-ahead instructions not only makes meal prep a breeze but also ensures that every bite of your hot honey chickpea bowl is as delicious as it is nutritious.
Preparation
Let’s dive into prepping your hot honey chickpea bowl, ensuring every ingredient sings in harmony for a delightful meal. We’ve covered the make-ahead tips; now, on to the fresh prep work!
Washing and Chopping Vegetables
First up, let’s tackle the vegetables. Start by rinsing your selected veggies under cold running water to remove any dirt or residue. Depending on your choice, you’ll want to chop them into bite-sized pieces for easy eating. For leafy greens like kale or spinach, tear them into manageable pieces by hand for a rustic touch. Peppers, onions, and other veggies should be thinly sliced to ensure they cook evenly and integrate well with the overall dish.
Cooking Quinoa or Rice
Moving on to the base of our bowl, quinoa or rice acts as the perfect canvas for our flavorful toppings. For quinoa, rinse it under cold water in a fine mesh sieve to remove its natural bitter coating, then drain it well. In a medium saucepan, combine 1 cup of quinoa with 2 cups of water or broth for more flavor. Bring it to a boil, then reduce the heat to low, cover, and simmer for about 15 to 20 minutes, or until the quinoa is fluffy and the water is absorbed.
For those opting for rice, follow a similar rinse process, especially if you’re using white rice. Combine 1 cup of rice with 2 cups of water or broth in a saucepan. Bring to a boil, then lower the heat, cover, and let it simmer. White rice usually cooks in about 18 to 20 minutes, while brown rice can take up to 45 minutes. Watch for a tender texture and ensure all liquid is absorbed before fluffing with a fork.
With your vegetables prepped and your base cooked, you’re well on your way to assembling your hot honey chickpea bowls. The balanced blend of spicy and sweet, crunchy and soft, will come together beautifully in the next steps.
Cooking Instructions
Now that you’re all set with your prepped ingredients, let’s dive into the cooking process that will bring our hot honey chickpea bowl to life.
For the Hot Honey Sauce
- Gather Your Ingredients: You will need 1/4 cup of honey, 1 tablespoon of hot sauce, 1/2 teaspoon of garlic powder, and a pinch of salt.
- Combine and Heat: In a small saucepan over low heat, combine all the ingredients. Stir continuously to prevent the honey from burning, for about 1-2 minutes, until the ingredients are well mixed and the sauce is warm.
- Adjust to Taste: Taste your sauce and adjust the hot sauce or honey according to your preference for sweetness or heat.
- Set Aside: Once done, remove the sauce from heat and set it aside to cool slightly. It will thicken as it cools.
For the Chickpeas
- Preheat Your Oven: Set your oven to 400°F (200°C) and line a baking sheet with parchment paper for easy cleanup.
- Prepare Chickpeas: Rinse 2 cups of canned chickpeas under cold water and pat them dry with a kitchen towel. Removing as much moisture as possible helps them roast better.
- Season: In a bowl, toss the chickpeas with 1 tablespoon of olive oil, 1/2 teaspoon of paprika, 1/4 teaspoon of salt, and 1/4 teaspoon of black pepper until evenly coated.
- Roast: Spread the chickpeas out on the prepared baking sheet in a single layer. Roast for 20-25 minutes, or until they are golden and slightly crispy, shaking the pan halfway through for even cooking.
- Mix with Hot Honey Sauce: Once roasted, transfer the chickpeas to a bowl and drizzle with the prepared hot honey sauce. Toss to coat evenly.
- Prepare the Vegetables: While the chickpeas are roasting, prepare your vegetables. You’ll need 2 cups of broccoli florets and 1 large sweet potato, peeled and cut into 1/2-inch cubes.
- Season: Place the vegetables on another baking sheet. Drizzle with 2 tablespoons of olive oil and season with 1/4 teaspoon of salt and 1/4 teaspoon of black pepper. Toss to evenly coat.
- Roast: Put the vegetables in the oven with the chickpeas and roast for about 20 minutes, until they are tender and the edges are caramelized. Stir halfway through to ensure even cooking.
- Combine: Once roasted, mix the vegetables and chickpeas together, or arrange them in serving bowls over a bed of quinoa or rice for a colorful, nutritious, and tasty meal.
Assembling the Bowl
Now that we’ve got all our components ready, let’s put together our hot honey chickpea bowl. The beauty of this bowl lies in the vibrant layers of flavors and textures.
Layering the Base
Start by scooping a generous amount of quinoa into each bowl. We want a hearty base for our toppings, so make sure to spread the quinoa evenly. This nutty, fluffy foundation not only adds substance but also perfectly absorbs the flavors we’ll be adding on top.
Adding Chickpeas and Vegetables
Next, spoon the roasted chickpeas and vegetables over the quinoa. Arrange them beautifully to cover the surface, allowing each bite to be a delightful mix of the roasted, caramelized chickpeas and the tender, slightly charred vegetables. The contrast between the soft sweet potatoes and the crunchy broccoli crowns is simply irresistible.
Drizzling Hot Honey Sauce
Here comes the star element—drizzle the spicy, sweet, and slightly tangy hot honey sauce over the chickpeas and vegetables. Be generous but mindful; you want to coat them thoroughly without drenching the entire bowl. This magical sauce ties all the flavors together, creating a symphony in your mouth.
Adding Optional Toppings
Finally, for an extra burst of texture and flavor, sprinkle some optional toppings over your bowl. This could be anything from a handful of toasted nuts for crunch, a dollop of Greek yogurt for creaminess, to a sprinkle of fresh herbs for a pop of freshness. These finishing touches not only enhance the dish’s aesthetics but also its taste profile, making every bite unique.
Serving Suggestions
After mastering the art of preparing your hot honey chickpea bowl, we find that presentation and accompaniments truly elevate the dining experience. Here’s how to turn this already delightful dish into an even more memorable meal.
Pair With Refreshing Beverages
A glass of chilled lemonade or cucumber water pairs wonderfully with the spicy-sweet flavors of the bowl. For those who prefer something with a bit of fizz, a sparkling water infused with a hint of lime or grapefruit complements the dish’s richness beautifully.
Choose Your Sides Wisely
While the hot honey chickpea bowl is a symphony of flavors on its own, adding a side of fresh, crunchy salad can balance the textures and tastes. Consider a simple arugula salad dressed with lemon juice, olive oil, and a sprinkle of sea salt. If you’re looking for something heartier, a side of garlic-roasted asparagus or steamed green beans works wonders.
Perfect Your Presentation
Serve your hot honey chickpea bowl in wide, shallow bowls to showcase its colorful components. Place the quinoa at the bottom, then neatly arrange the chickpeas, vegetables, and any additional toppings. Drizzle the hot honey sauce in a zigzag pattern across the top for that Instagram-worthy look. Garnish with fresh herbs like cilantro or parsley to add a pop of color and freshness.
Add a Creamy Element
A dollop of Greek yogurt or a swirl of tahini on top of your bowl introduces a cooling element that contrasts beautifully with the spiciness of the hot honey sauce. This addition not only completes the dish visually but also adds a creamy texture that makes each bite more satisfying.
Think About Texture
For an extra crunch, sprinkle a handful of toasted nuts or seeds over your bowl. Pumpkin seeds, sliced almonds, or sunflower seeds offer not just a nutritional boost but also a pleasing textural contrast to the soft quinoa and vegetables.
Remember, the key to a fantastic hot honey chickpea bowl is not just in the preparation but also in how it’s served. By following these suggestions, we guarantee you’ll elevate your meal from simply nourishing to truly unforgettable.
Storage and Reheating Instructions
After you’ve enjoyed the vibrant flavors and textures of our hot honey chickpea bowl, you’ll be pleased to find that it stores and reheats beautifully, making it a perfect dish for meal prep or next-day leftovers. Here’s how to keep this delicious dish tasting fresh.
How to Store
- Separate Components: If possible, store the chickpeas, quinoa, and hot honey sauce in separate airtight containers. This helps to maintain the distinct textures and flavors of each component. Vegetables should also be stored separately to keep them crisp.
- Refrigeration: Place the containers in the refrigerator. The chickpeas and quinoa will stay fresh for up to five days, while the hot honey sauce can last up to two weeks. Fresh vegetables used in the bowl should be consumed within two to three days for optimal freshness.
- Label Containers: For easy identification, label each container with the date of storage. This will help you keep track of how long they’ve been in the refrigerator and ensure you use them while they’re still at their best.
- Chickpeas and Quinoa: Transfer the desired portion of chickpeas and quinoa to a microwave-safe dish. Sprinkle a little water over them to prevent drying out. Cover with a microwave-safe lid or paper towel and heat on high for 1-2 minutes or until heated through. Stir halfway through reheating to ensure even warmth.
- Sauce Reheating: If the hot honey sauce has thickened too much in the fridge, gently reheat it in a small saucepan over low heat or in the microwave for 20-30 seconds. Add a tablespoon of water if needed to reach the desired consistency.
- Combining Components: Once heated, assemble your bowl with the warm chickpeas, quinoa, and any fresh vegetables or toppings you prefer. Drizzle with the hot honey sauce, and it’s ready to enjoy.
- Oven Option: For a crisper texture, especially for the chickpeas, you can spread them on a baking sheet and reheat them in the oven at 350°F (175°C) for about 10 minutes.
Following these storage and reheating instructions ensures that your hot honey chickpea bowl remains a delightful meal that can be enjoyed again without sacrificing taste or nutrition.
Conclusion
We’ve shared our love for the hot honey chickpea bowl and how to keep it tasting great for days. Remember, a little effort in preparation and storage goes a long way in preserving the deliciousness of this dish. Whether you’re enjoying it fresh or reheating it for a quick meal, the flavors and nutrients remain intact, making it a perfect choice for any day of the week. So go ahead, give it a try, and let this dish become a new favorite in your meal rotation.
Related Posts:
- Ultimate Guide to Hot Honey Chickpea Bowl: Prep, Store & Reheat Tips
- Easy Sweet Chili Chicken Meatballs Recipe: Perfect for Any Meal